If you’re part of a product team, you’ve probably realized that having fantastic features matters little if your users struggle to find and use them. Whether you call it “information architecture” or just “navigation,” it’s critical to achieving your team’s objectives and providing real value to your users.
So, how can users quickly locate what they need and understand how to use it? One practical way is to conduct navigation testing to ensure your user experience aligns with how your users naturally think.
In simpler terms, it’s about ensuring your users can effortlessly navigate your app or site and have a smooth and intuitive experience.
What is Navigation Testing?
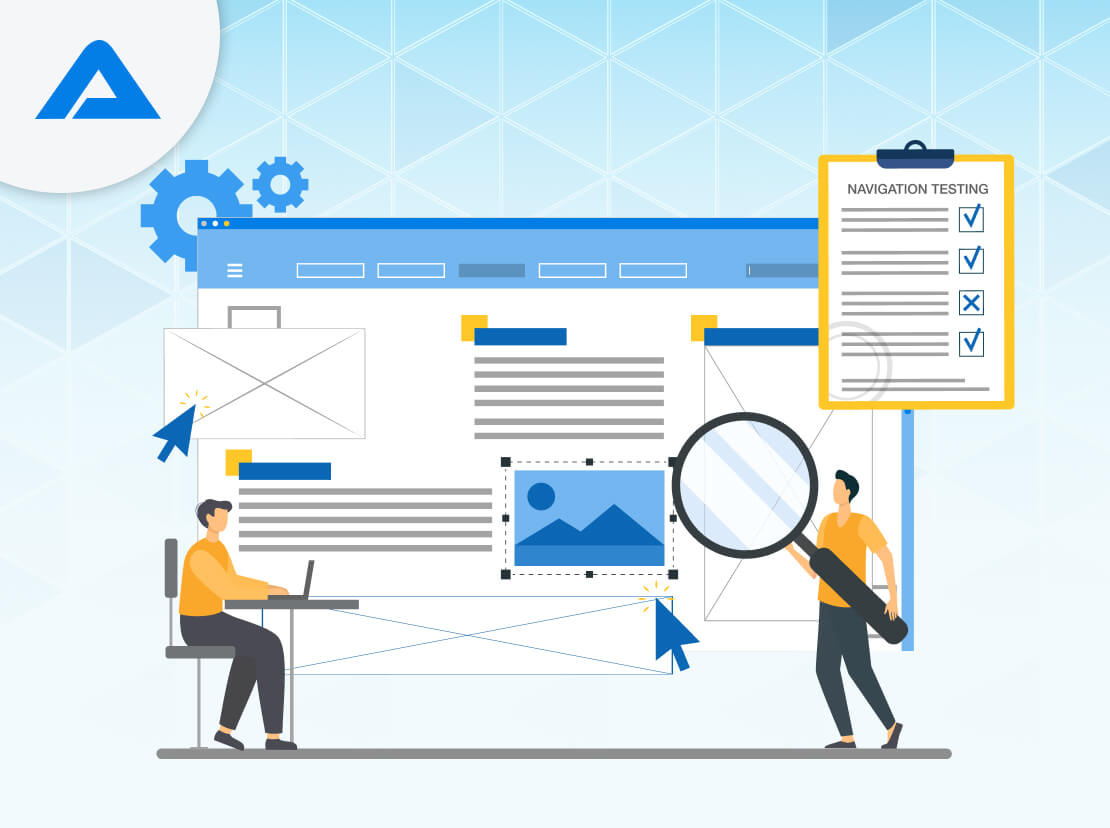
Navigation testing is like taking your software application for a friendly stroll. It’s all about checking how well your app guides users through its excellent features. Think of it as a test to see if your menus, buttons, links, and other navigation are easy to figure out and quick to respond to.
But it’s not just about the good stuff; navigation testing is also about spotting any hiccups that might trip up users along the way. It’s like giving your app a little tune-up to ensure everyone can move around smoothly.
Why is Navigation Testing Necessary?
Navigating through the reasons:
1. Enhancing User Experience:
Good navigation means users easily find what they’re looking for, making their journey smooth and enjoyable. This makes users happy and keeps them coming back for more.
2. Error Reduction:
Confusing navigation can lead users to ask for help or make mistakes, causing frustration and possibly abandoning the site. Navigation testing acts like a compass, pointing out potential issues before users experience them.
3. Boosting SEO Scores:
Search Engine Optimization isn’t just about keywords; it’s also about how well your site is navigated. A well-organized navigation system acts like a map for search engines, helping them understand your content and ranking your site higher in search results.
Methods to Test Navigation

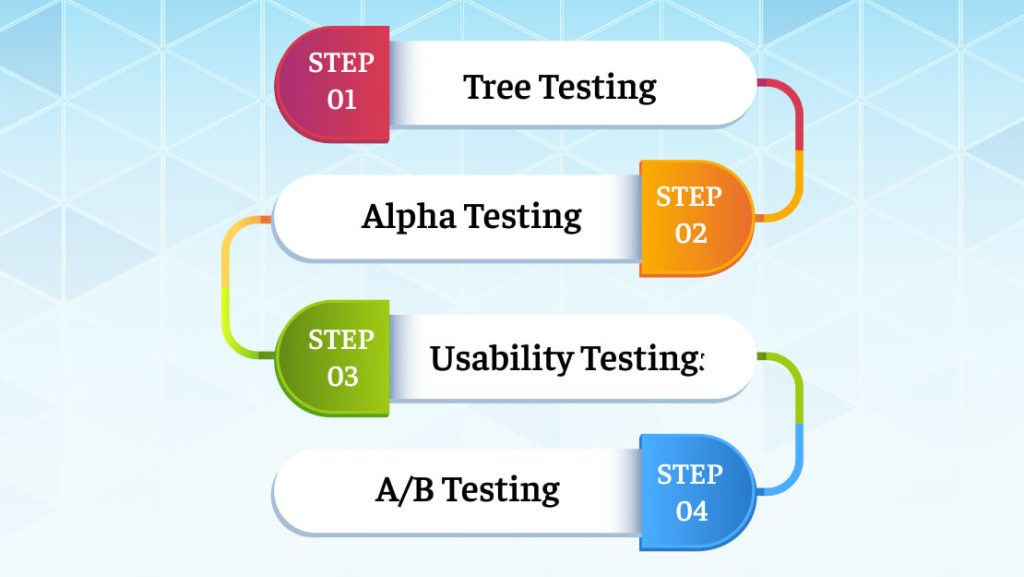
Here are some user-friendly methods to test navigation:
1. Tree Testing:
Imagine navigating through a treehouse. Tree testing involves exploring the structure directly, like finding your way through branches. Participants take on tasks, helping to reveal any tricky spots or unclear labels.
2. Alpha Testing:
Picture yourself in a magical realm of prototypes. Participants embark on tasks, using the prototype’s navigation to uncover information. This method unveils potential issues like confusing elements or challenging usability.
3. Usability Testing:
Embark on a usability safari where real users navigate your website or app. Watch as they tackle tasks, observing their journey through the digital wilderness. This method unveils any confusing or frustrating aspects of the navigation experience.
4. A/B Testing:
Welcome to the A/B adventure, where two different navigation versions face off. It’s like testing different paths to see which leads to the treasure. This method assesses various designs, labels, or placements to find the winning combination.
Step-by-Step: How To Conduct Navigation Testing
Step 1: Know Your Goals
Clearly understand what you want to achieve with navigation testing. Are you aiming for smoother menu navigation, quicker button responses, or an overall user-friendly journey? Define your objectives.
Step 2: Pick Your Testing Style
Choose a testing method that suits your goals. It could be as simple as asking users to follow a tree structure or navigating a prototype. Select the method that aligns with what you want to learn.
Step 3: Craft Realistic Scenarios
Develop scenarios that mimic real-life user tasks. Whether finding information or completing actions, ensure your scenarios cover various navigation aspects. Keep it practical and relatable.
Step 4: Assemble Your Test Team
Recruit a diverse group of participants resembling your actual user base. Include both seasoned users and those new to your application. A mix provides valuable perspectives.
Step 5: Set Up Your Testing Space
Arrange your testing environment, whether a room or a digital platform. Ensure your scenarios are ready, tools are set, and everything is prepared for a smooth testing experience.
Step 6: Let the Testing Begin
Guide participants through your scenarios, encouraging them to voice their thoughts as they navigate. Watch for signs of confusion or frustration, and take note of their interactions with your app.
Step 7: Capture Feedback
After each test, gather Feedback. Ask participants about their navigation journey, any challenges faced, and suggestions for improvement. This qualitative input is like gold for refining your navigation.
Step 8: Crunch the Numbers
Dive into the collected data. Look for common issues or trends across participants. Consider hard metrics and the softer, qualitative insights to get a well-rounded view.
Step 9: Make it Better
Implement changes based on the identified issues. This could involve tweaking menu structures, refining labels, or enhancing overall navigation. Make sure your updates address user feedback.
Step 10: Keep it Ongoing
Regularly revisit your navigation testing, especially after making changes. This continuous cycle ensures your app’s navigation stays in tune with user expectations. It’s an ongoing journey of improvement.
How to perform this test in Test Automation

Understanding what your users need to accomplish is critical for successful navigation testing. Here’s a simplified guide:
Step 1: Identify Essential User Tasks
Pinpoint the crucial tasks users should complete using your application’s navigation. Whether finding information, purchasing, or connecting with others, these tasks are the heart of your navigation testing.
Step 2: Define Navigation Paths
Once you know the essential tasks, map out the paths users would take to achieve them. Visualize the journey users should ideally follow to complete each task. This clarity is the foundation for effective navigation testing.
Step 3: Crafting Clear Test Cases
Write test cases for each identified path. Could you keep it simple, clear, and concise? Your test cases should cover all scenarios users encounter, ensuring comprehensive testing.
Step 4: Choose the Right Test Automation Framework
Various automation testing frameworks like Testsigma, Selenium, Appium, and Cypress exist. Choose one that aligns with your application type and programming language. Think of it as picking the right tool for the job.
Step 5: Record Your Test Cases
Once your test cases are ready, record them using the chosen automation framework. This process turns your manual testing cases into automated scripts that can be executed consistently.
Step 6: Execute Tests Automatically
With your recorded test cases, you can execute them automatically using the chosen framework. This automated testing ensures a speedy and efficient evaluation of your application’s navigation.
Conclusion
Navigation testing is not a one-time quest; it’s an ongoing adventure of refinement. Regular revisits, continuous testing, and user feedback pave the way for an ever-evolving and user-centric navigation experience. By embracing this guide, you equip yourself with the tools and knowledge to navigate the intricate landscape of navigation testing successfully. So, set sail, test diligently, and keep enhancing the journey for your users. Happy navigating!
Frequently Asked Questions (FAQs) on Navigation Testing
Navigation testing is crucial to ensure users can easily find and use features within your application. It enhances the user experience, reduces errors, and improves SEO.
Navigation testing evaluates how well users can navigate through an application. It includes testing menus, buttons, links, and other elements to ensure they are intuitive and responsive.
A well-designed navigation system facilitates quick access to information, leading to a positive user experience, increased engagement, and higher satisfaction.
Yes, a well-designed navigation system minimizes the chances of users making errors or needing additional help. Navigation testing helps identify and fix problems before the application is released.
Navigation is essential for search engine optimization (SEO). A well-structured navigation system helps search engines understand your website’s content, improving its ranking in search results.
There are various methods, including Tree Testing (directly testing navigation structure), Prototype Testing (testing a prototype of the website or app), Usability Testing (testing with real users), and A/B Testing (comparing two navigation versions).
- Identify essential user tasks and define navigation paths.
- Craft clear and concise test cases for each path.
- Choose a suitable test automation framework like Testsigma or Selenium.
- Record your test cases using the chosen framework.
- Execute the tests automatically to evaluate your application’s navigation.
Test automation frameworks like Testsigma, Selenium, Appium, and Cypress enable efficient and consistent execution of navigation tests, saving time and ensuring thorough testing.
