


Chances are, you’ve invested hours, even weeks or months, into fine-tuning your Webflow website for optimal performance. In this blog post, I’ll show you how to accelerate the loading speed of your Webflow site by optimizing every element. Let’s get started!
Why Website Load Speed Matters
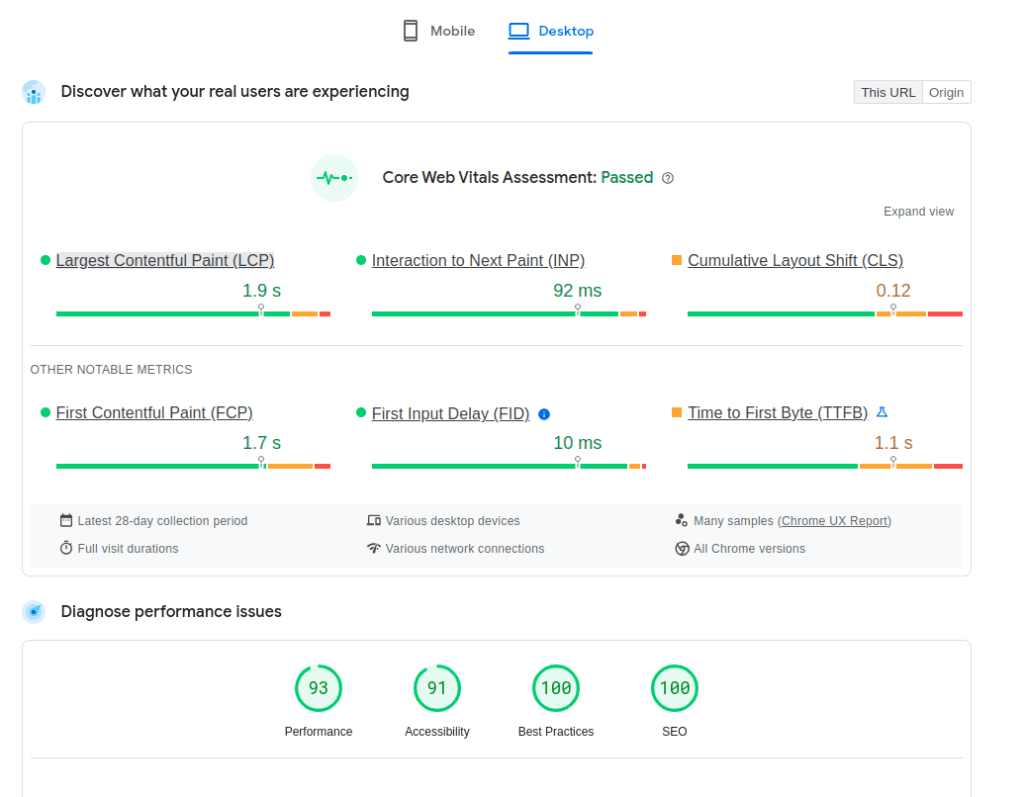
Firstly, let’s discuss why optimizing load speed is important and how we can measure it. A slow-loading website can drive users away before they even get a chance to explore it. People are not patient with slow websites, and they tend to leave if a site takes even a couple of seconds to load.Additionally, Google prefers fast-loading websites, and if your site has large images or other elements that cause it to load slowly, Google will rank it lower. This impacts your SEO and overall accessibility, especially for users with slower internet connections. Therefore, optimizing your website’s load speed is crucial for better SEO, accessibility, and user retention.
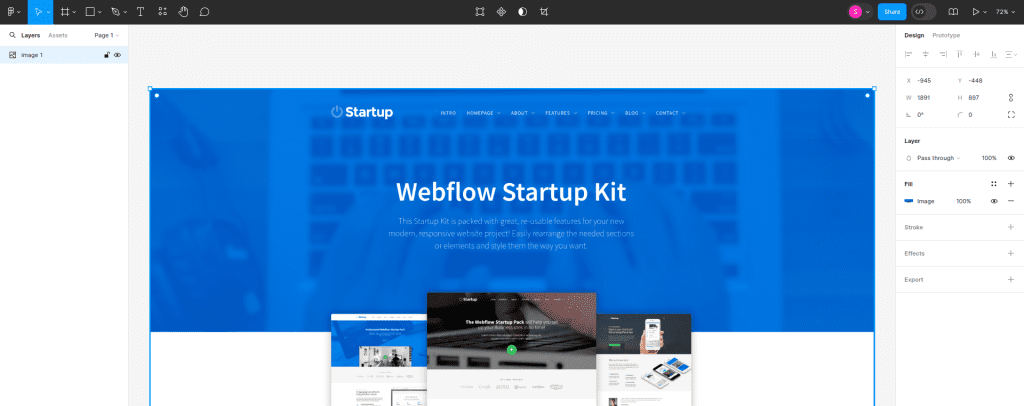
Design in Figma Before Building in Webflow
Webflow is very powerful, but if you don’t know how to use it properly, it can make your life difficult, causing headaches and even performance issues. One common mistake is designing directly in Webflow. Webflow is built as a building service, not a design tool.
Start your design in Figma, Sketch, or a similar design tool. This approach allows you to iterate quickly and get client feedback before moving into Webflow, which will help you reduce unwanted styles and classes. For instance, you can easily move elements around, hide sections, and duplicate layouts in Figma. Once the design is finalized, move to Webflow to build the website.
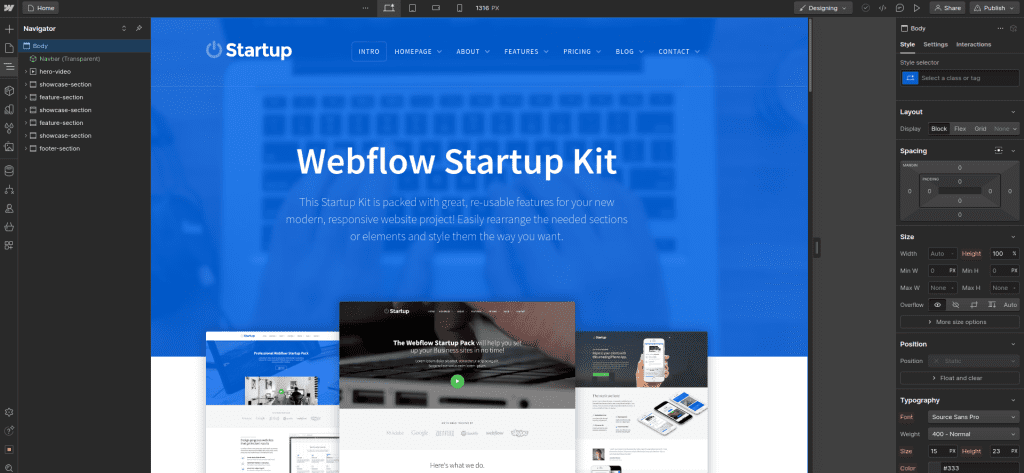
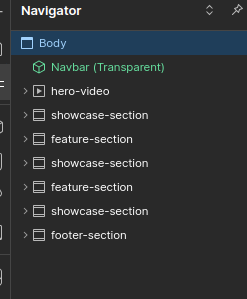
Properly Name Your Classes and Global Styles
Naming conventions matter when managing a Webflow project. Assigning meaningful names to elements and classes, such as “navbar,” “hero-section,” or “button-primary,” enhances project organization and clarity. It prevents confusion and saves time when collaborating with teams or revisiting projects later. Styling global HTML tags like H1, H2, etc., ensures consistency across your site. This approach eliminates redundant styles and streamlines maintenance tasks, creating a more efficient development workflow. Properly naming classes and applying global styles helps reduce unwanted styles and classes, enhancing overall site performance.
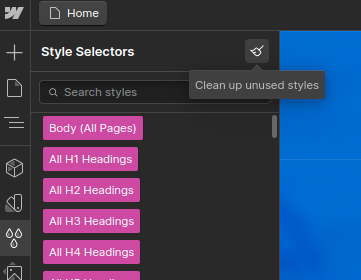
Remove Unused Styles, Interactions, & Triggers
During development, we often create styles and classes that we end up not using. These unused styles and classes add to the site storage size. To delete them, go to the style selector and click on the brush icon. It will load all unused classes, which you can then delete. Similarly, while developing, we create interactions and add triggers, but some unused ones couldthere could be some unused ones that can be cleaned up. To delete these, click on interaction and then click on the little brush icon. You will see all unused interactions, which you can delete.
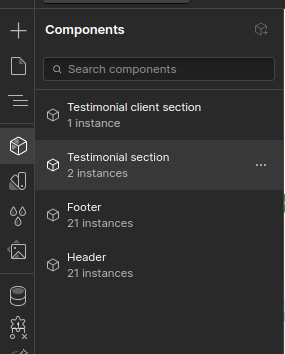
Create Reusable Components in Webflow
Using reusable components in Webflow can greatly enhance your efficiency and consistency when building and maintaining your website. Reusable components, known as Symbols in Webflow, allow you to create a section or element once and then use it across multiple pages. This saves time and ensures uniformity throughout your site, contributingnot only saves time but also ensures uniformity throughout your site, contributing to faster load times and improved performance.
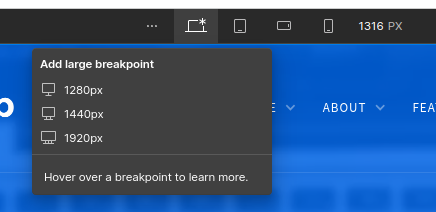
Utilize Effective Webflow Breakpoints
Webflow’s responsive design capabilities are powered by breakpoints, which define how your site adapts to different screen sizes. Use breakpoints strategically to apply styling to classes only when necessary for specific screen sizes. Avoid unnecessary duplications of styles across breakpoints, which can clutter your project and slow down loading times. This practice ensures that your site remains responsive without unnecessary code bloat. Using proper breakpoints, you apply styling efficiently and avoid generating unnecessary breakpoints and styles, optimizing site performance.
Optimize Images
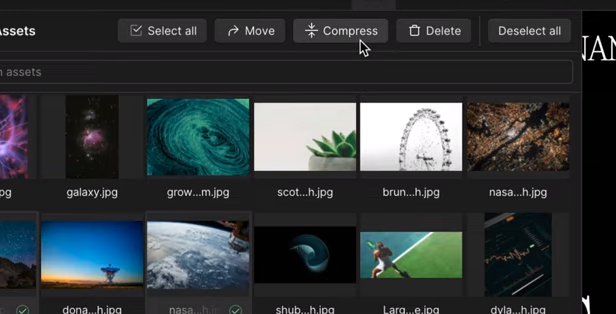
Images are typically the largest assets on a website. Optimize them effectively with these strategies:
Convert to WebP Format: Webflow supports the WebP format, significantly reducing which significantly reduces image file sizes without noticeable quality loss. Convert your images to WebP wherever possible. To do this, go to the assets panel, select your images, and click “compress” to convert them to WebP.
Manually Optimize CMS Images: For images in your CMS collections, manually convert and compress them using tools like TinyPNG or Squoosh before uploading.
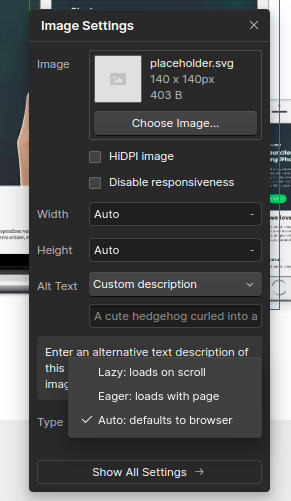
Use SVGs for Icons: For vector images, use SVG format. SVGs are scalable and often smaller in size than raster images. Embed small SVGs directly in your HTML to avoid additional requests.
Lazy Load Images: Enable lazy loading for images that appear below the fold. This ensures images load only when they enter the viewport, improving initial load times
Avoid Background Images: Do not use background images in CSS for critical content. Instead, use regular <img> tags and position elements to achieve the desired layout.


Optimize Videos
Videos can be tricky in Webflow. Here’s how to manage them:
- Transcode Videos: Manually transcode videos to optimize their size and quality before uploading. This can help avoid issues with Webflow’s default video optimization.
- Use Lazy Loading: LikeSimilar to images, implement lazy loading for videos to ensure they load only when they enter the viewport.
Scripts Optimization
Scripts often significantly impact website performance. Here’s how you can manage them effectively:
- Remove Unnecessary Scripts: Regularly audit and remove any scripts that are not essential. This includes old analytics scripts or remnants from previous website versions.
- Move Scripts to the Footer: Place essential scripts in the footer code section rather than the head to prevent them from blocking the initial page load.
- Use Async and Defer Attributes: Apply the async or defer attributes to your scripts. Async loads the script while the HTML continues parsing, whereas defer ensures the script executes only after the document has been parsed.
- Embed Small Scripts Directly: For very small scripts, embed them directly in your HTML to avoid additional HTTP requests.
- Delay Script Loading: Wrap non-critical scripts in a function and delay their loading using setTimeout, ensuring they load only after the main content is displayed.
- Conditionally Load Scripts: Load heavy scripts conditionally based on user behaviourbehavior or specific parameters, such as ad campaign sources.
- Pre-connect to External Origins: Use the pre-connectpreconnect attribute to establish early connections to external origins, reducing latency when fetching resources like scripts and stylesheets.
Fonts Optimization
Fonts can significantly affect page load times. Optimize font loading with these tips:
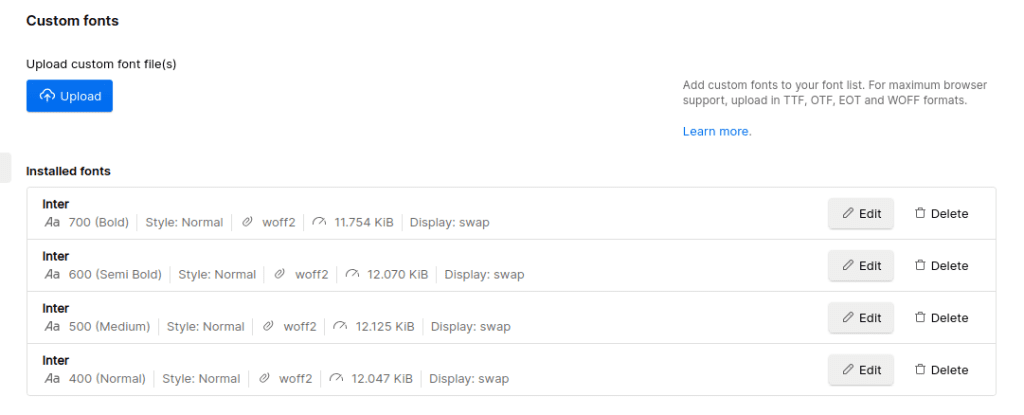
- Avoid External Font Libraries: Instead of using Google Fonts or Adobe Fonts via their default embed codes, download the font files and host them directly on your server.
- Use Font Display Swap: Implement the font-display: swap property in your CSS to ensure text is visible while web fonts load, preventing invisible text during loading.
- Minimize Font Usage: Limit the number of different fonts used on your site. Ideally, use one or two fonts to reduce load times.
- Pre-load Critical Fonts: For maximum performance, pre-load critical fonts in the head of your document to ensure they are available as soon as needed.
Leverage Webflow’s Default Optimization Tools
Webflow offers several built-in optimization tools. Utilize these tools to minimize your HTML, CSS, and JavaScript, which reduces your website’s total size and improves load times. Webflow also automatically resizes and serves responsive images, ensuring they load quickly across different devices.
Conclusion
By implementing these optimization strategies, you can significantly improve the performance of your Webflow site. Faster load times lead to a better user experience and higher search engine rankings, ultimately contributing to the success of your online presence. Regularly review and update your optimization techniques to keep up with best practices and technological advancements.
Optimize efficiently, save countless hours, and ensure your site performs at its best!
Are you looking for a Webflow developer for your business? Hire our experts now!

Pooja Upadhyay
Director Of People Operations & Client Relations