


The open-source community flourishes in the presence of the rich bank of modules and Silverstripe themes is surely going to mark milestones with the kind of modules it has. Though a small and less popular community, the kind of modules it has come with is quite impressive but seldom noticed. Being a responsible and committed member of the SilverStripe community, team AddWeb has actively been a part of its community and hence have also studied several predefined modules of Silverstripe. Let us bring these awesome modules into the notice with this particular blog post. Maybe, that’s the least we as a member of the community can do for the growth of SilverStripe community.
Say, you had to add something to your project viz. ‘Add user-defined form’, ‘Add comment section’ or want to build a Blog website. In such a case the predefined modules by Silverstripe will come to your help. Check them out and follow the following steps to install them!

Step 1: Run the command to install module.
Composer require authorname/modulename
Step 2: Need to flush the site by appending ?flush=all.
URL, e.g. flush
There are a bunch of modules available on the SilverStripe community. Explore them in here:
There are a couple of ‘Distributions’ available in the SilverStripe community, which helps you to build a website faster. These distributions are mentioned below:
1. silverstripe/recipe-cms
This distribution plugin provides you with a readymade and fully featured page, along with an asset content editing for a recipe website.
To use it in your SilverStripe Project, all you need to do is to run the below-mentioned command:
composer require silverstripe/recipe-cms
2. SilverStripe CMS Branding
This one is a nice little UI change for the cms sidebar. The theme supports the UploadField in displaying the logo on the left-hand side of the many in CMS. It goes this way – Settings > Settings Tab > CMS Tab.
Where to get it from?
composer require ryanpotter/silverstripe-cms-theme
What is it all about?
It’s a CMS theme, the screenshot of which is shared as below:

3. axllent/silverstripe-cms-tweaks:
This is a module used to add a series of tweaks/modifications to the SilverStripe CMS. The prime goal of this very module is to make this CMS easy and clear for the non-technical users, which is done by removing a few functionalities that are confusing for them.
Where to get it from?
composer require axllent/silverstripe-cms-tweaks
What is it all about?
It’s Several CMS usability improvements.
Modification Made:
- Move Meta Description and ExtraMeta to its own ‘Advanced tab’.
- ‘Meta Title’ is now named as ‘Page name’, in order to avoid confusion.
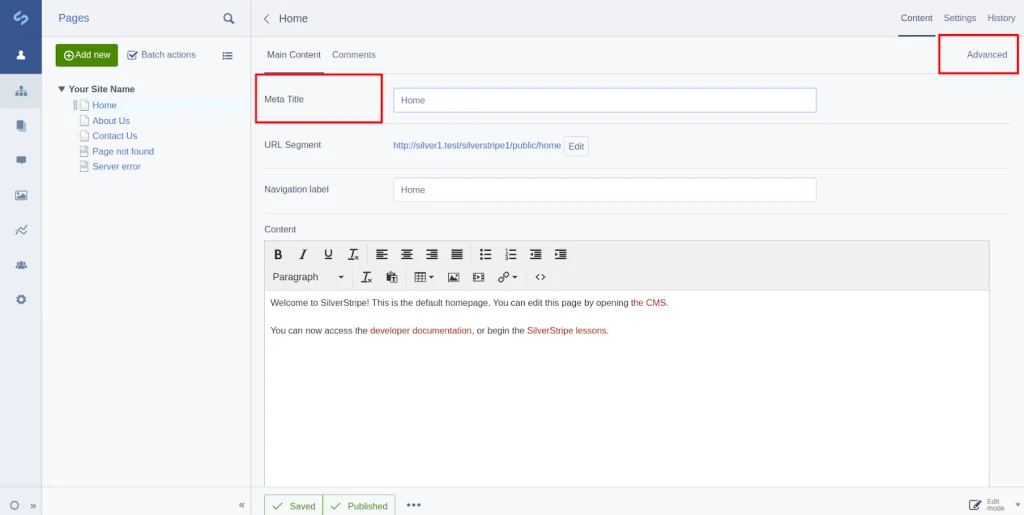
- Hide CMS ErrorPages to non-admin users in CMS.

- Link logo in CMS to website homepage rather than silverstripe.org

Now, let’s move on to various other modules of Silverstripe, viz. build Blog website, build user-defined form like contact us page, Add comment section, Add theme, et al. Let’s learn about installing these various SilverStripe modules and their usages:
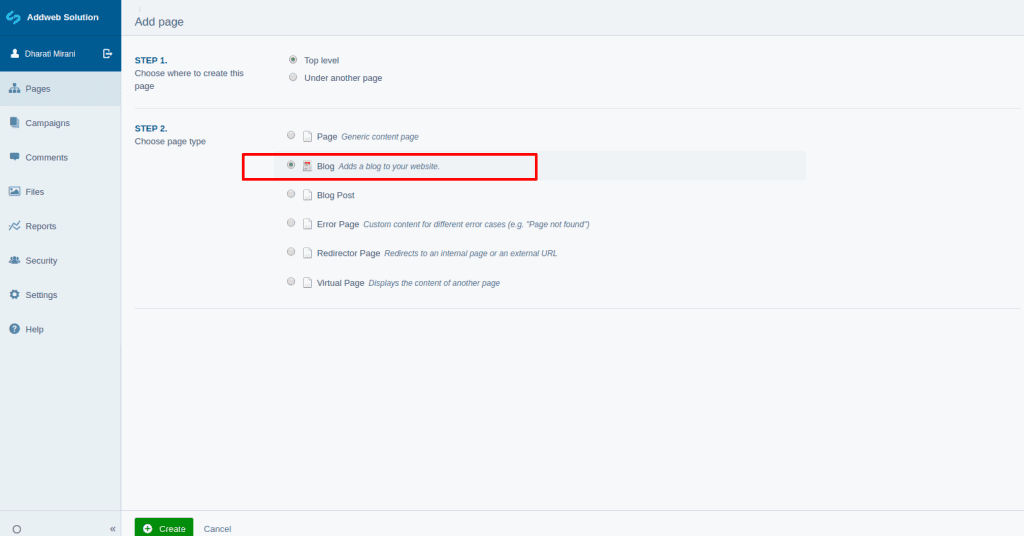
- How to make ‘Blog Website’ in SilverStripe:
Step 1: Run the command
composer require silverstripe/blog
Step 2: Now you can create page and there is type of blog page.
- Create a new blog post :
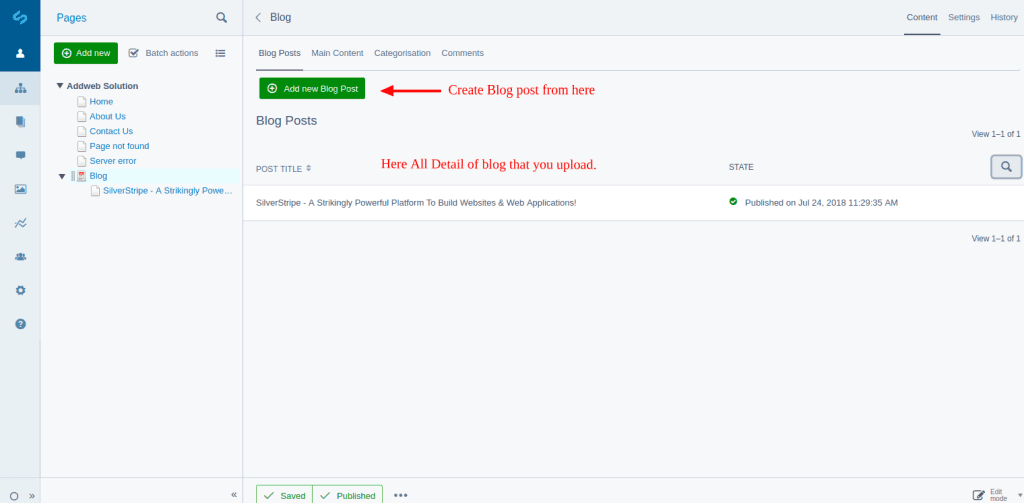
- Add the content of blog post :

- How to build User defined form in SilverStripe:
- UserForms enables CMS users to create dynamic forms via a drag and drop interface and without getting involved in any PHP code.
- UserForms enables CMS users to create dynamic forms via a drag and drop interface and without getting involved in any PHP code.
Step: 1 Install Package
Composer require silverstripe/userforms
Step: 2 Run Command
php vendor/silverstripe/framework/cli-script.php dev/build
Step 3: Need to flush the site by appending ?flush=all
URL, e.g. flush
Step 4: Now go to CMS menu
Create a New page and there will be the option of creating the user-defined form:

- Now Add Fields in the form :

- You can create a form as below:

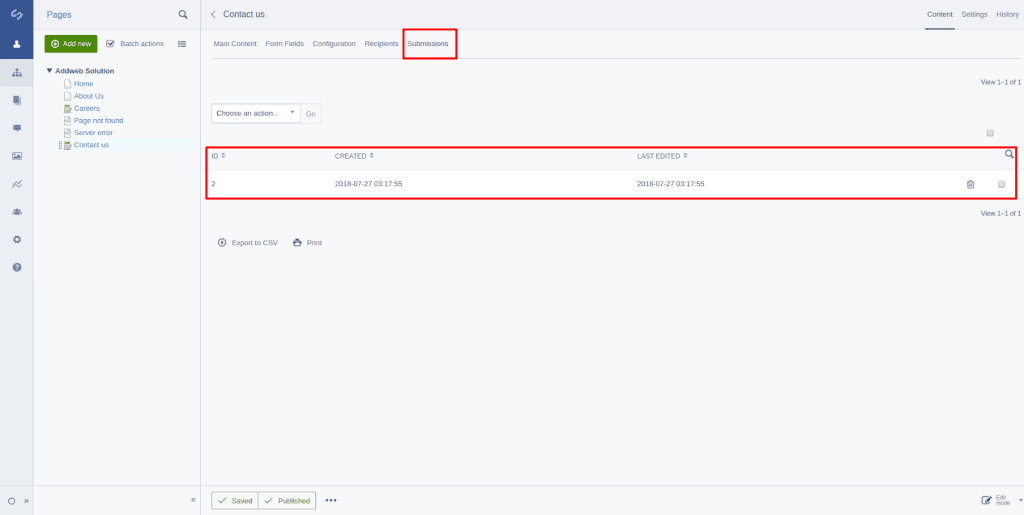
- You can see filled data of form:
In page/submissions
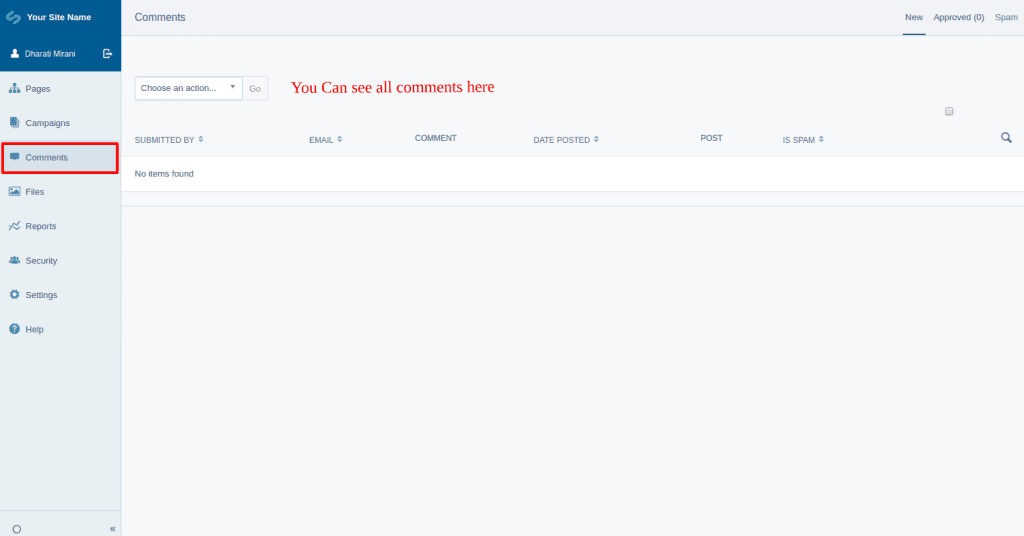
- Commenting functionality for Pages and other DataObjects on your SilverStripe site.
Step: 1 Install Package
composer require SilverStripe/comments
Step: 2 Need to flush the site by appending ?flush=all
URL, e.g. flush
Step : 3 Now check in pages there one section appended of comments.

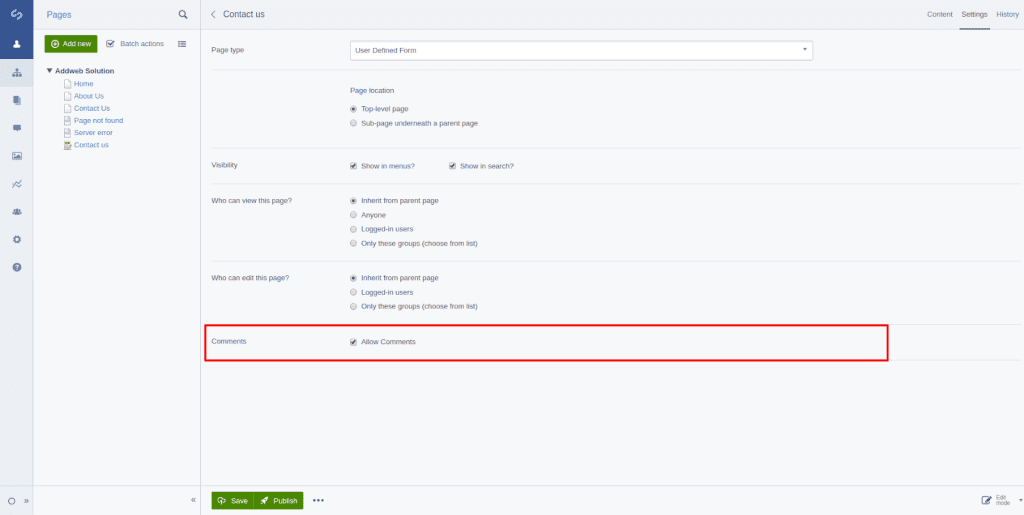
- If you don’t want comment section in any page then there will setting to remove comment section:
In page > settings tab > Uncheck Allow comment
- How to Add theme in SilversSripe:
Step: 1 Install package for a theme.
composer require silverstripe-themes/blackcandy
Step: 2 Now set theme
For version 4 set theme as :
In app/_config/theme.yml file,
SilverStripe\View\SSViewer:
themes:
– theme_name
– ‘$default’
For version 3 and less set theme as :
There is an option for setting the theme in the settings menu
Like,

Along with the modules, there is also a wealthy bank of themes available in Silverstripe. You can explore them below:
I hope this blog helps you to expand your SilverStripe knowledge …Thanks! If you need more assistance regarding SilverStripe Development Service, feel free to contact us now.
Frequently Asked Questions
Modules are packages of code that extend the functionality of SilverStripe, while themes are sets of templates and styles that determine the look and feel of a SilverStripe website.
To install a module, you can use the Composer package manager. Simply run the Composer require command followed by the module name.
Yes, you can customize a theme in SilverStripe by modifying the templates, styles, and other assets. Customizations should be done in a way that follows best practices to ensure easy maintenance and updates.
SilverStripe has a rich community that contributes free and premium modules and themes. You can find them on the SilverStripe website, GitHub, or other community platforms.
To update a module, you can use the Composer package manager. Run the composer update command, and Composer will fetch the latest version of the module.
While a SilverStripe website typically uses one theme at a time, you can switch between themes easily. However, utilizing multiple themes simultaneously might require additional customization.
Yes, SilverStripe has modules that add e-commerce functionality to your website. Popular choices include SilverShop and SimpleShop, which provide features like product management and online transactions.
Compatibility varies between versions, and it’s recommended to use modules and themes compatible with the specific version of SilverStripe you are working with. Always check compatibility before installing.